This is the final installment of the Cocktail Blog series from the two month astrophotography trip to Namibia, Africa at the &Beyond Resort near Sossusvlei. In this blog from the pool, I show some drone views from the e-bike and ATV Ride activities, show my fix for the missing panel in the Milky Way mosaic photo and pay tribute to some of the great staff here who have served me so well over the last nine weeks. This truly has, been the trip of a lifetime!
Finally! It’s the highly anticipated (salivated?) Food Blog that I’ve been working on for weeks! They really have a fantastic chef and kitchen staff here at &Beyond so I show off a bit of what they can do, and I also interview Franz, the Wine Steward. You better grab a snack before sitting down to watch this…
I’m wrapping up things here in Namibia, Africa with another cocktail blog where I talk about the problems with doing multi-panel mosaics but also have some successes, am flabbergasted that we had an actual cloudy night, and show off some of the images that are just now getting processed.
In tonight’s Cocktail Blog I detail the progress on the twelve panel astrophoto mosaic of the Large Magellanic Cloud, and for all those people over the years who have told me to, “Take a hike!”, well I did! Oh, and a decent amount of this episode is in 4k video!
In this blog I talk about finishing up all the astrophotography projects before the moon becomes too bright to shoot anymore and give updates on the progress. I also show off a cool dusty thing that the incoming astronomer told me about, and I have dinner with the pilot!
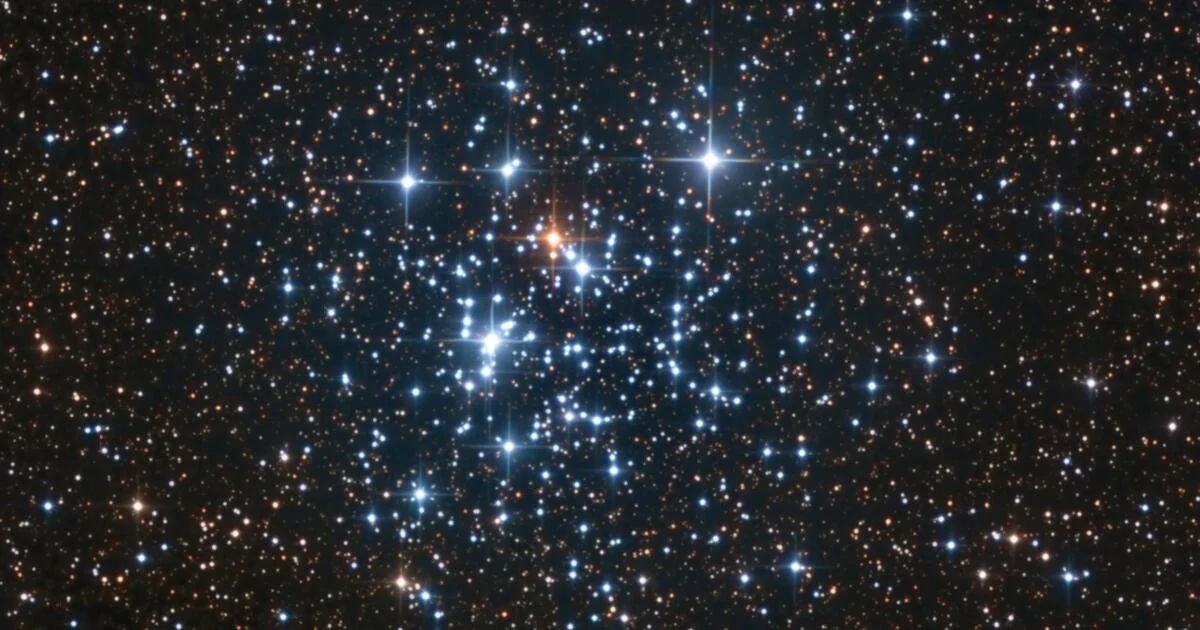
The Large and Small Magellanic Clouds (LMC & SMC) are staples of the extreme southern sky residing down at roughtly Declination -70, that puts them really close to the south celestial pole so nearly impossible to see unless you’re below the equator, so you know I was going to make them a priority.
In this brief Cocktail Blog I show off two new astrophotography images and lay out some plans for the new video.
In this monumental Cocktail Blog I show off some of the new astrophotos, give the result of the hunt for Pluto, started some new targets now that we’re almost at new Moon, and I had a dinner date!
In this Cocktail Blog I reveal the first serious attempt at an image with the small, super wide-field scope with the one shot color camera, got bugs in my drink and saw Orion rise upside down at the end of the night!
In this two part Cocktail Blog I talk about the return of dark skies early in the night and getting back to astrophotography, finishing off a couple targets and having fun talking to guests with something decent to show them in the scope finally!
In this cocktail blog I talk about what I’ve been doing with the full moon being up which is working on some music and doing some planning for when the Moon ISN’T going to be up! Plus I get a surprise in my laundry…
Messier 17–A new astrophoto from last week, is technically viewable from the north but so much better when straight overhead! The last time I imaged this was about 4 years ago and I wasn't nearly as good at processing my images in the computer after taking them so this one was due for an update.
In this cocktail blog I discover that the serve high tea here between 4 and 5 pm, had some friends drop by, got a whole bunch of new guests in and I went to the gift shop!
Every now and then you get surprised. I'm dealing with a moon that's getting brighter, and hanging in the sky longer, each day and before I say "it's too much" I'm looking around the sky for places that are still relatively dark and in completely the opposite direction from that monthly light-polluter.
The constellation Ara is over there, up pretty high in the sky but I know nothing about it since it's a southern constellation. Quite by accident I stumble on this nebula that seems relatively substantial, only identified by it's catalog number of NGC 6188. Sky Safari describes it as "an interstellar carnival of young blue stars, hot red gas, and cool dark dust." A 'carnival'? How could I resist that? So 'time's a-wastin'" so I wheel the scope to that part of the sky, get all up and running and shoot it for two nights.
In this video I give the Namibian Perseid Meteor Shower report, show off a new astrophoto with a surprise guest, get a wine tasting, and have fun at the scope with a Romanian kid and his mom.
In this video we track down that star that was bought at the Sydney Australia Observatory by a wife for her husband, the imminent Perseid Meteor Shower and preview the new astrophoto, the Helix Nebula!
Lucky 13 of the Cocktail Blog series, where I talk about astrophotography targets and progress, some guests want to track down a star they ‘bought’ at an observatory fundraiser in Australia, and we discuss what kinds of celestial objects can carry your name!
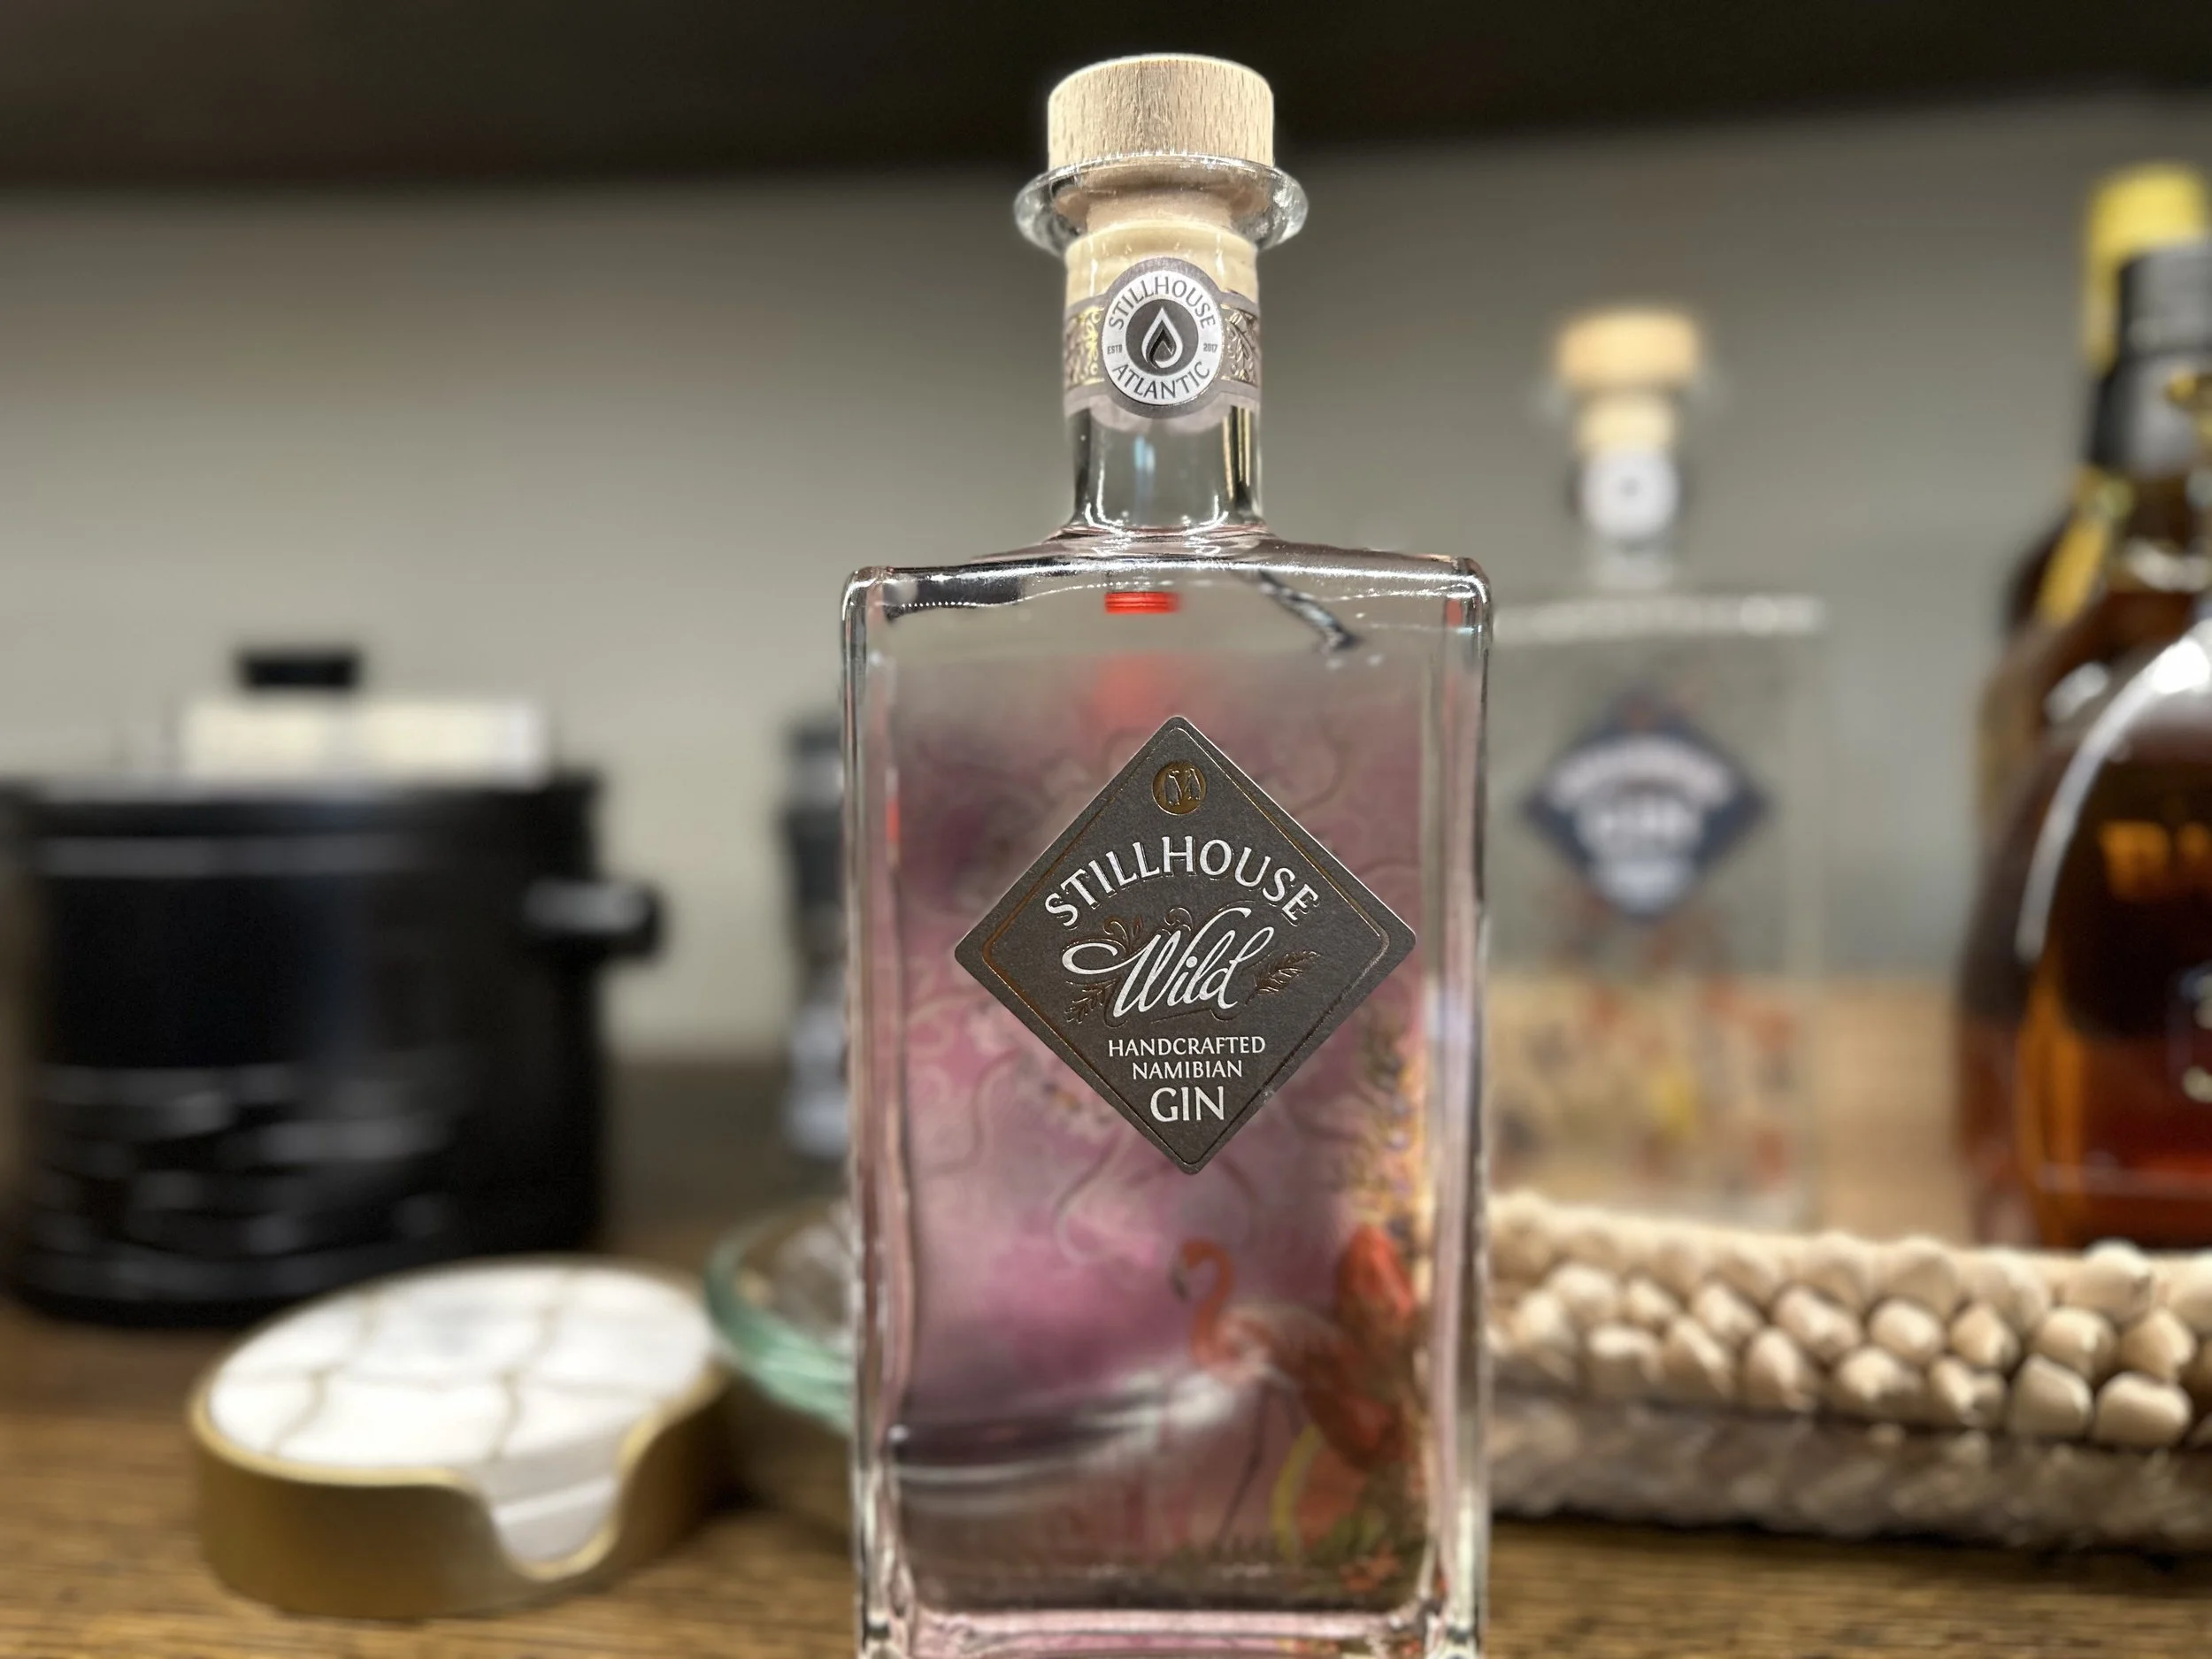
Yet another in the continuing saga of Luxury Astrophotography in the middle of the Namibian Desert… The Moon is returning to the night sky, I try a gin and tonic and the bird gets a free lunch!
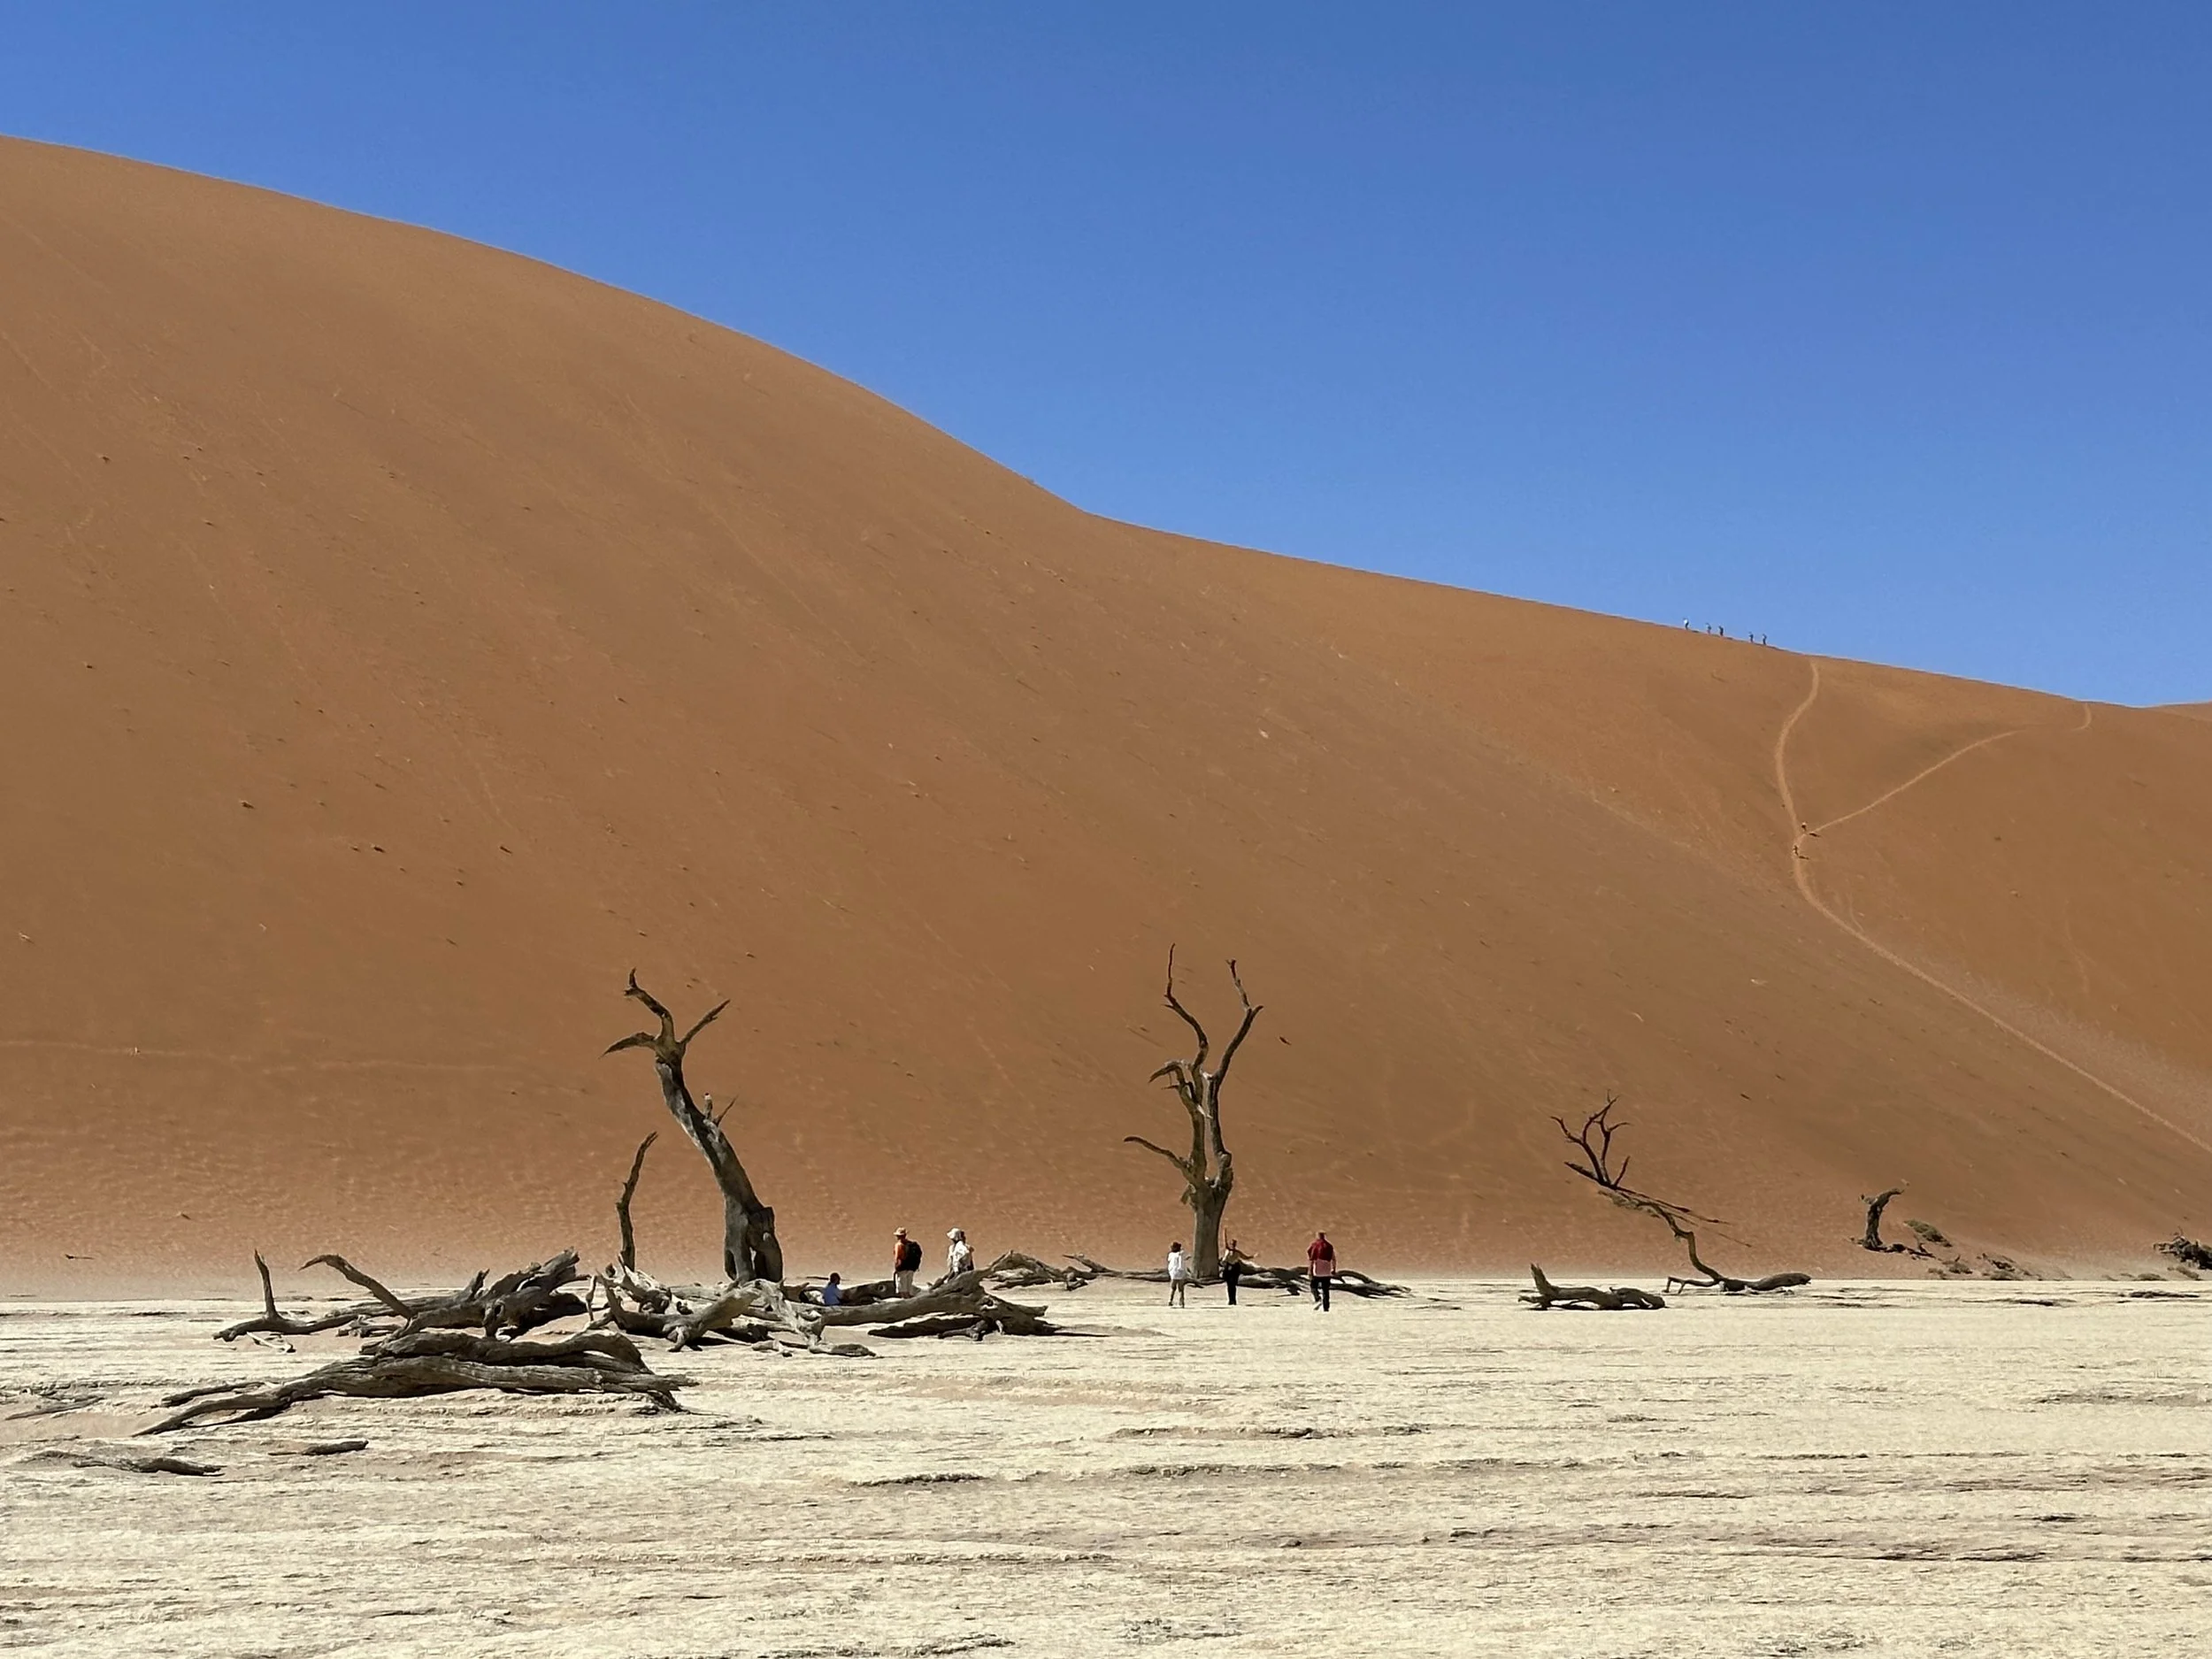
Here’s a short video detailing the trip out to see the “Big Daddy” sand dune in the National Park at Sossusvlei, Namibia.